Karate Training Equipment for Home
Most home setups I’ve seen are either completely empty or cluttered with equipment the person barely touches. A pull-up bar bolted to a door frame, a heavy bag swinging from a bracket that’s slowly pulling the ceiling down, and a pair of focus mitts gathering dust in the corner. Sound familiar?
The thing is, you don’t need much to build a genuinely useful home training space. But what you do need, you need to use correctly - and most people don’t. I’ve trained in garages, spare bedrooms, back gardens, and proper dojos, and the best home setups I’ve seen aren’t the most expensive. They’re the most considered.
Here’s what I actually use, what I recommend to students, and what I think is overrated.
The Makiwara: The One Piece of Equipment That Will Honestly Change Your Punching
If you train in a traditional style and you don’t own a makiwara, I’d argue you’re missing one of the most important training tools available to you. I know that’s a strong position. I hold it anyway.
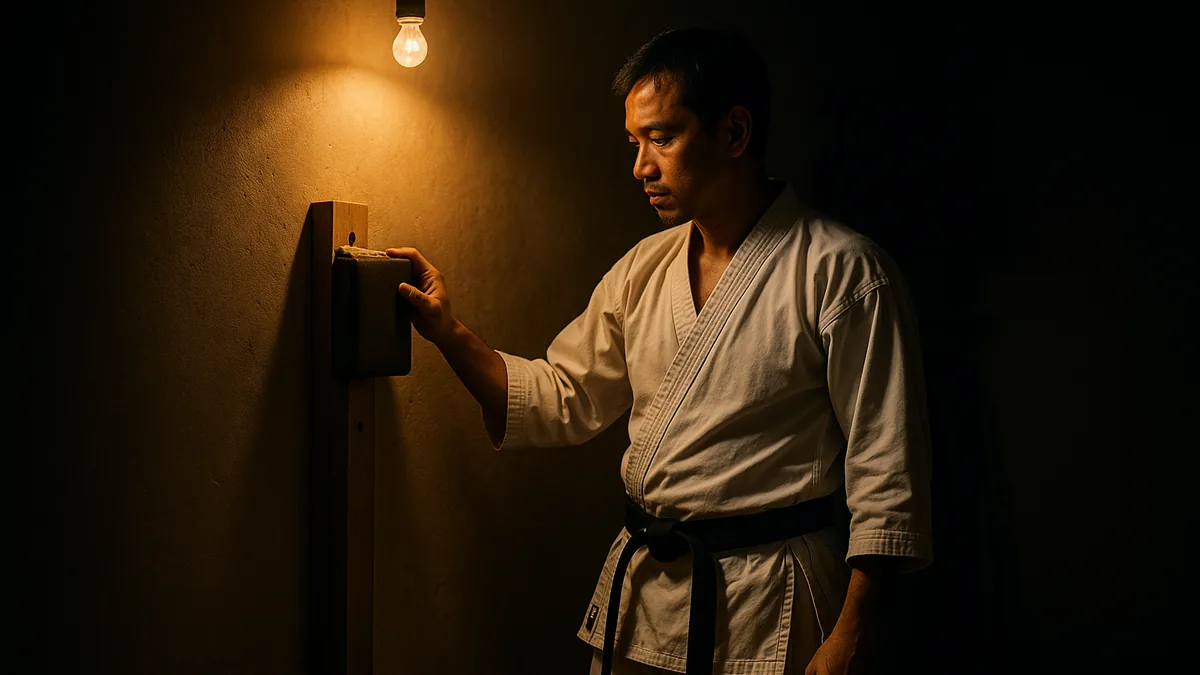
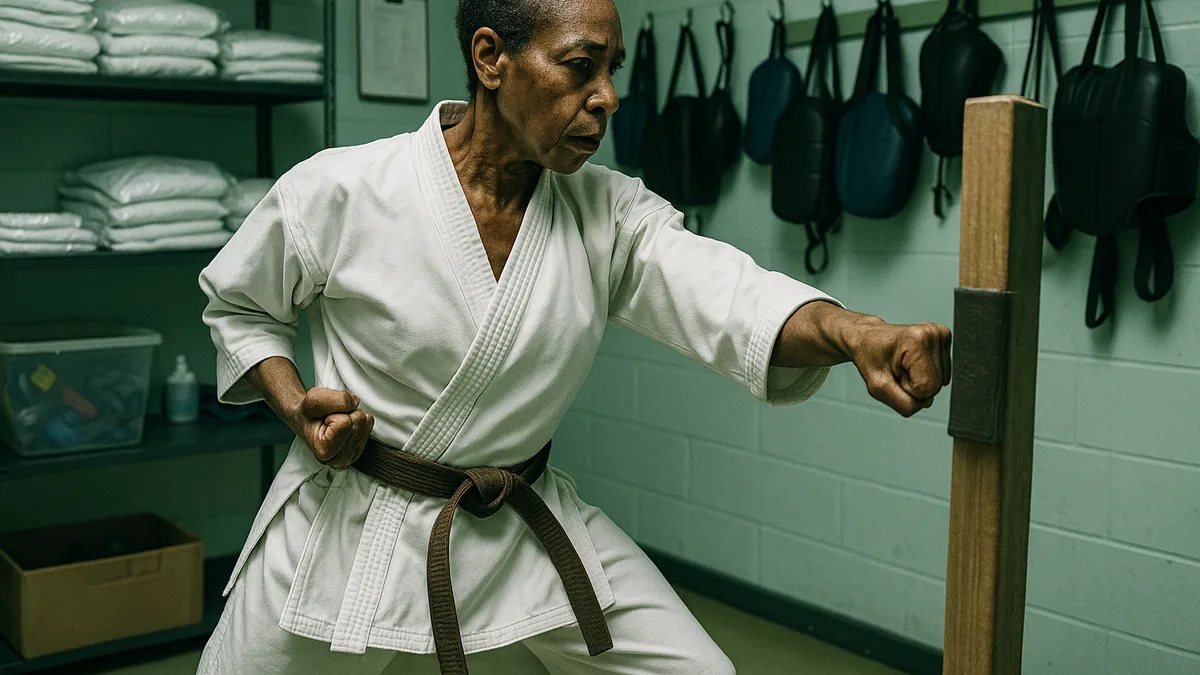
The makiwara is a padded striking post - traditionally a tapered wooden board sunk into the ground, though wall-mounted versions exist for home use. It doesn’t move when you hit it. That’s the point.
I used to think the makiwara was about toughening the knuckles. That’s what I was told as a junior grade and I believed it for years. What I eventually understood - and what clicked for me during a session where my instructor watched me hit one for about twenty minutes without saying anything, then simply said “you’re not committed” - is that the makiwara teaches you to drive through the target, not to it. A bag swings away from you. The makiwara doesn’t. If your structure collapses on impact, you feel it immediately. There’s nowhere to hide.
The correction that makes the biggest difference with makiwara work is in the moment of contact. Most beginners pull back slightly just before the strike lands - a self-protective flinch that bleeds power out of the technique. On a bag, you might not notice. On a makiwara, the rebound tells you everything. When you get it right, when the hip rotation connects properly and the whole body is behind the strike, you feel the impact travel back through your forearm and into your shoulder as a kind of solid, absorbed resistance. It feels like hitting something real. When it’s wrong, it feels like slapping.
For home use, I’d recommend a wall-mounted board over a freestanding post if you’re renting or have limited outdoor space. Expect to spend some time getting the height right - the board should be at roughly solar plexus height, not face height. Start slow. The makiwara is not a power exercise. It’s a precision exercise.
Heavy Bags: Useful, But Not for the Reasons Most People Think
I’ve seen more students develop bad habits on heavy bags than on any other piece of equipment. That’s not the bag’s fault - it’s a misunderstanding of what the bag is actually for.
One mistake I see constantly: people treat the heavy bag as a fitness tool and just whale on it. Combinations thrown at full power with no reset, no chamber, no focus on the return. After ten minutes of that, you’ve trained yourself to be sloppy. The bag rewards volume. It doesn’t penalise poor technique the way a partner or a makiwara does.
What I tell students is this: if you can’t do it slowly and correctly, don’t do it fast on the bag. Use the bag to practise combinations you’ve already drilled in kihon. Use it to work on distancing - specifically, learning where you need to be for your techniques to land with structure rather than just contact. A bag that swings back at you is also useful for timing, if you’re disciplined enough to wait for it.
For home use, a 4-foot hanging bag is the most versatile option. Ceiling mounts need to be into a joist - I’ve seen bags come down mid-session because someone put a hook into plasterboard and it’s not something you want to experience. Freestanding bags are convenient but they walk across the room under sustained use, which gets old quickly.
I prefer a hanging bag over freestanding for one reason: the movement is more honest. When you hit a hanging bag, you learn something about your technique from the way it moves. A freestanding bag just absorbs.
Resistance Bands: Underused and Misunderstood
Resistance bands don’t look impressive. That might be why most people don’t take them seriously. I didn’t for years - I thought they were for physiotherapy or warm-ups, not serious karate training.
I changed my mind when I started using them specifically for hip rotation drills. Anchoring a band at hip height and working through the rotation of a gyaku-zuki against resistance gave me more feedback about where my power was actually coming from than months of bag work had. You feel the weak points in the rotation immediately. If your hip isn’t driving the punch, the band exposes it.
Bands are also genuinely useful for:
- Shoulder warm-up before heavy bag or makiwara sessions
- Uke waza (blocking) drills to build the pulling mechanics in the hikite hand
- Leg work - specifically, working the hip flexors and the snap in the kicking chamber
They’re cheap, they take up no space, and they travel. For a home setup, I’d say a set of three resistance levels is enough. You won’t need the heaviest band for most karate-specific drills.
Mirrors: Non-Negotiable If You Train Alone
Training without feedback is how bad habits survive for years. In the dojo, your instructor catches the dropped elbow, the collapsing chamber, the hikite that’s stopped pulling. At home, nobody does - unless you have a mirror.
I’ve noticed that students who do regular home training without mirrors often develop a slightly different version of their technique compared to what they do in class. Not dramatically different, but the small things drift. The mirror doesn’t lie.
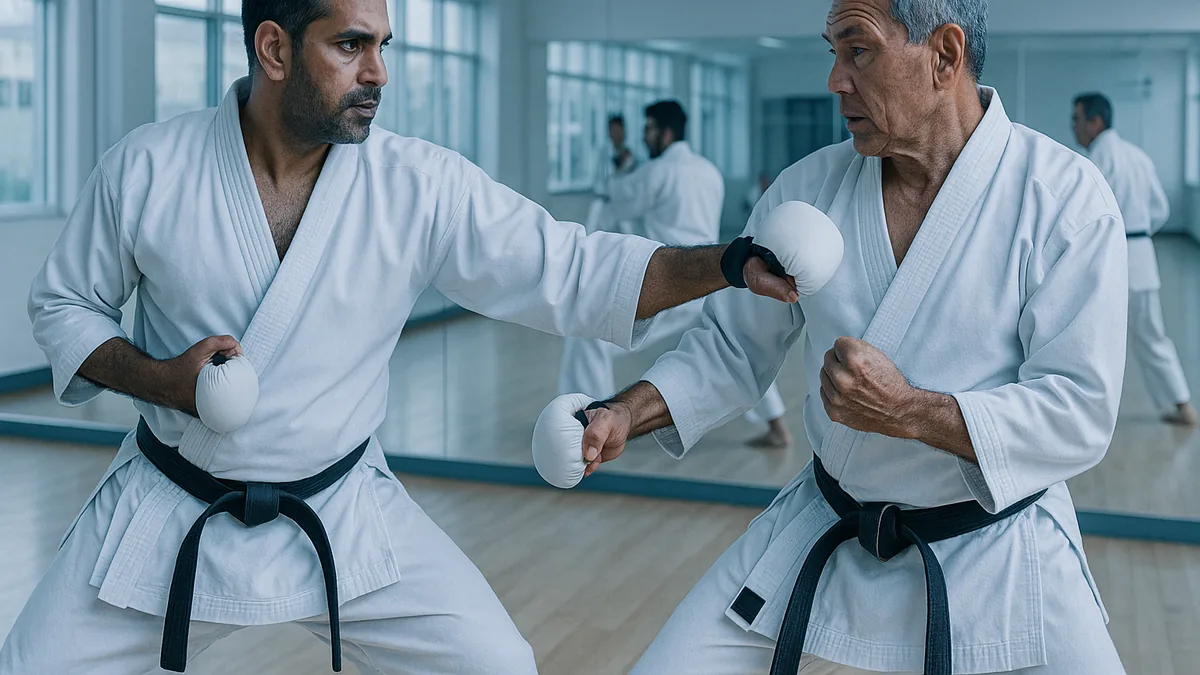
For home use, a full-length mirror on the wall opposite your training space is the minimum. If you can get two - one in front and one at 45 degrees to the side - you’ll catch a lot more. The side angle is where most people are surprised by what they see. Your reverse punch might look solid from the front and completely collapsed in profile.
What I’d caution against is training while watching yourself continuously. Use the mirror to check, then look away and train by feel. If you’re always watching, you start performing rather than training. The goal is to build kinaesthetic awareness - knowing what correct technique feels like from the inside, not just what it looks like from the outside.
Floor Mats: Get Them Right or Don’t Bother
This is the one area where I’ve seen people genuinely injure themselves through a bad setup. Thin foam puzzle mats on a hard floor are not sufficient for any training that involves falls, throws, or sustained kicking practice. Your knees will tell you this within a few months.
For a home dojo, I’d recommend 40mm EVA foam interlocking tiles as a minimum. If you’re doing any groundwork or self-defence practice that involves breakfalls, go thicker - 50mm or purpose-made crash mats for those sections.
One mistake I see constantly with home setups is people buying mats that are too small for their actual training space. You need enough room to move without stepping off the mat mid-combination. Measure your space properly, add a margin, and buy accordingly. The mats that end up unused are usually the ones that were too small to be practical.
The floor under the mats matters too. Mats on carpet bunch and slide. Mats on a smooth hard floor are better, but the tiles still need to be taped or bordered at the edges or they’ll spread apart under lateral movement.
Community Perspective
There’s a genuine split in the karate community about home training equipment - specifically between traditional practitioners who favour the makiwara and minimal equipment, and more contemporary practitioners who build setups closer to a boxing or MMA gym with heavy bags, speed balls, and conditioning equipment.
Neither approach is wrong. But I think the disagreement often comes down to what you believe karate training is fundamentally for. If you see it primarily as combat effectiveness, a heavy bag and conditioning equipment makes sense. If you see it as a technical discipline where precision matters more than output, the makiwara and mirror combination is more honest.
What I’ve seen change in practitioners over time is this: most people start wanting to hit things hard and often. After a few years, the better students start wanting to hit things correctly. The equipment that rewards correctness over volume tends to become more appealing as you progress. That shift in what you’re drawn to is, I think, a reliable indicator that someone is actually developing.
Key Takeaways
- The makiwara is not about toughening knuckles - it’s about learning to commit through the target. If you only buy one piece of equipment, buy this.
- Use the heavy bag to practise combinations you’ve already drilled correctly, not to discover what combinations feel like. The bag rewards volume and punishes nothing.
- Resistance bands are most useful for hip rotation drills and hikite mechanics - not just warm-up. Anchor them at hip height and work slowly.
- A full-length mirror is non-negotiable for solo training. Use it to check, then train by feel. Don’t perform for it.
- 40mm EVA foam mats are the minimum for sustained training. Anything thinner is a false economy that your knees will eventually invoice you for.
- Build the space you’ll actually use, not the space that looks impressive. A makiwara, a mirror, and decent mats will take your training further than a full bag setup you only touch twice a week.
- If you’re wondering what to actually drill once the space is ready, the guide on how to practise karate at home gives you a structured approach that works with or without equipment
The weekly digest
New karate articles, once a week
One email every week with everything new on Karate Lifestyle. No spam; unsubscribe in one click.
We'll email you to confirm. See our privacy policy.