Switching Stances in Kumite: When Southpaw Gives You an Edge and How to Develop It
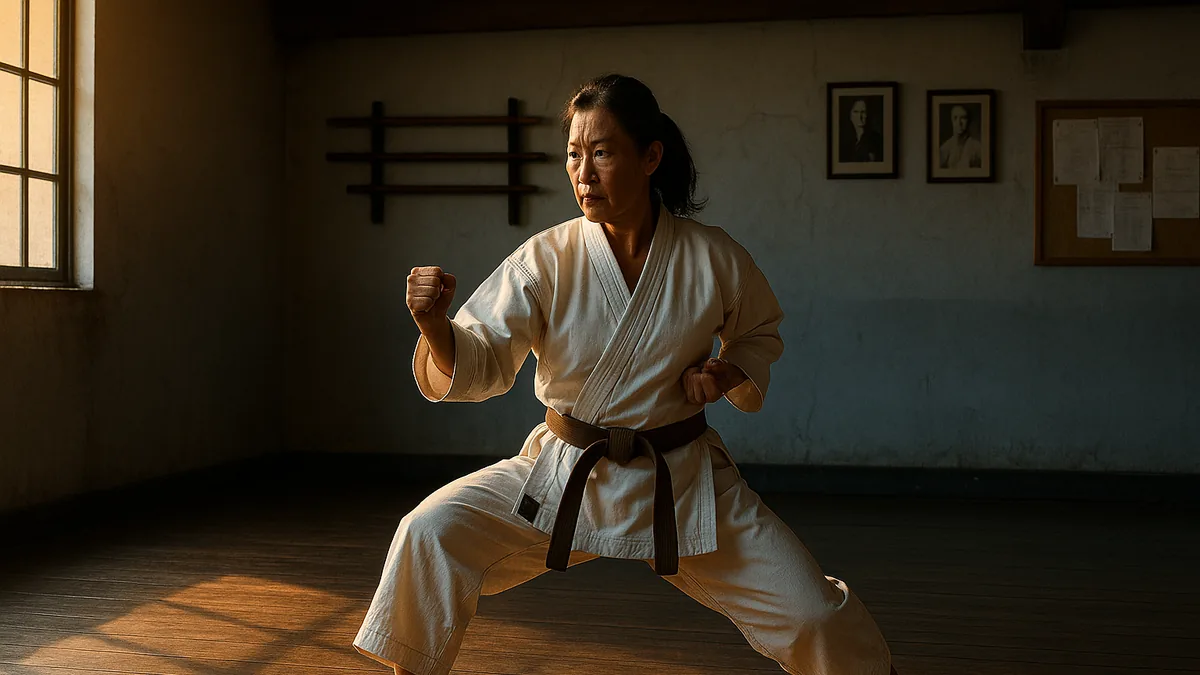
Most fighters treat their stance like it’s fixed. They pick one side, they drill it, they compete in it, and they assume switching is something you do by accident or desperation. That’s a mistake I’ve seen cost people matches they should have won.
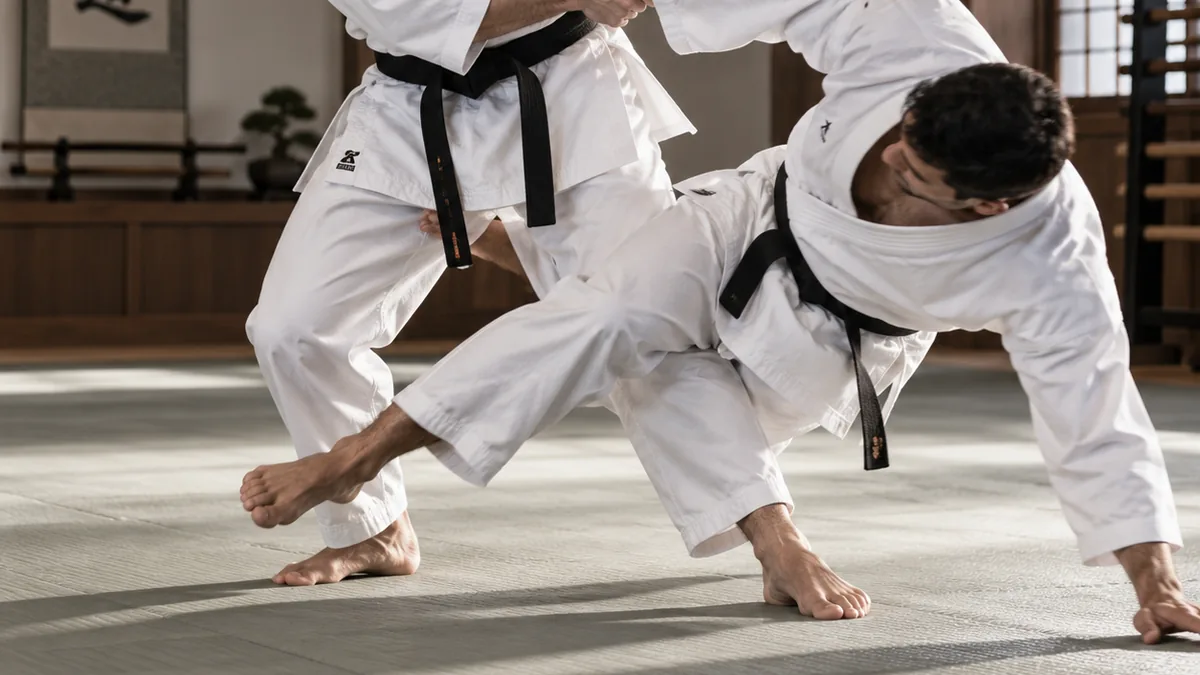
The reality is that switching stances deliberately - from orthodox to southpaw and back - is one of the most underused tools in sport kumite. Not because it’s complicated, but because most people never drill it seriously enough to trust it under pressure. When you can switch and actually fight from both sides, you stop being predictable. And in kumite, predictability gets you scored on.
I didn’t take stance switching seriously until a training camp in my mid-twenties, when I kept getting picked apart by a left-handed fighter who was doing something I couldn’t quite read. My instructor watched for about ten minutes, then told me: “He’s not faster than you. You just don’t know where his weapons are coming from.” That stuck. I went away and spent six months drilling southpaw until it felt like a second language. It changed how I compete and how I teach.
Why Southpaw Creates Real Problems for Orthodox Fighters
Orthodox fighters train the vast majority of their kumite reps against other orthodox fighters. That means their defensive habits - where they expect attacks to come from, how they position against a lead hand, which side they drift toward - are all calibrated for a right-handed opponent.
When you switch to southpaw, you immediately disrupt that calibration. Your lead hand is now on their open side. Your rear straight is coming from an angle they’ve seen far less often. Your body is angled differently, and the lines they’ve been trained to protect are no longer the lines you’re attacking.
I’ve noticed that even experienced competitors take two or three exchanges to recalibrate when they face a genuine southpaw. That adjustment window is exactly what you’re exploiting when you switch mid-match. If you understand how scoring works and what judges are watching, you can use that window to land clean, uncontested techniques - the ones that score.
The other thing southpaw gives you is angle access. From a matched stance (both orthodox), the outside line is contested by both fighters equally. From a mismatched stance, you naturally have access to the outside of their lead leg, which opens their flank in a way they don’t habitually defend. That’s not theory - that’s what I’ve watched happen in sparring hundreds of times.
The Drills That Actually Build This
I’ll be direct: most of the stance-switching drills I’ve seen taught are too slow and too static to transfer to live kumite. You need to drill the switch at speed, under pressure, and with a clear purpose attached to it. Here’s what I actually use.
Drill 1: The Trigger Switch
Why it matters: This is the foundation. You need one movement that reliably gets you from orthodox to southpaw without losing your guard or your position. Most people’s switch is a fumble - two or three steps that telegraph the whole thing.
Setup: Work in front of a mirror or with a partner watching. Start in your standard fighting stance.
Execution:
- From orthodox, step your rear foot forward and slightly across - this is a short, sharp movement, not a lunge.
- As that foot lands, your old lead foot slides back to become the new rear foot.
- Your guard flips simultaneously. The hand that was leading is now rear. Don’t reset it - flip it.
- Freeze and check: you should be in a clean southpaw stance, weight distributed the same way it was before.
What to feel for: When you get this right, it feels like a pivot, not a step. There’s a moment where your weight is briefly central, and the switch happens through that centre. When it’s wrong, you’ll feel yourself walking through the movement - one step, pause, adjust. That pause is what your opponent reads.
What most people get wrong: The guard. I see students do the footwork correctly and then spend a half-second resetting their hands. By then, the surprise is gone. The hands and feet have to move together. Drill the guard flip separately if you need to - stand still and practice flipping the guard until it’s automatic, then add the footwork.
Reps: 20 slow, 20 at medium pace, 20 at full speed. Then rest and repeat. Don’t move on until the fast reps look like the slow ones.
Drill 2: Switch and Attack
Why it matters: The switch is worthless if you don’t do something with it. This drill trains you to attach an attack to the moment of switching, so the switch itself becomes a threat rather than just a repositioning.
Setup: You need a partner holding a pad, or a heavy bag. Start at kumite distance.
Execution:
- From orthodox, execute the trigger switch (above).
- As your new lead foot lands, drive immediately into a gyaku-zuki from the new southpaw position - your old rear hand is now your lead, and your old lead hand (now rear) fires the punch.
- The punch should land within one beat of the switch. Not after you settle. As you settle.
- Reset, return to orthodox, repeat.
What to feel for: The power in this technique comes from the hip rotation of the switch itself. If you time it right, you’ll feel the punch connect with momentum behind it - the body is already rotating from the footwork, and the punch borrows that rotation. When the timing is right, it doesn’t feel like you’re hitting - it feels like you’re landing.
What most people get wrong: They switch, pause to check their position, then punch. That pause kills the momentum and telegraphs the attack. The switch and the punch are one action. I tell students: if you can feel yourself “arriving” before you punch, you’re too slow.
Drill 3: Reactive Switching Under Pressure
Why it matters: In live kumite, you won’t switch on a count. You’ll switch in response to something - an opponent pressing, a failed attack, a reset moment. This drill trains that reactive quality.
Setup: Partner work, light contact or controlled sparring. Your partner applies light pressure - moving forward, throwing jabs, pushing the pace.
Execution:
- Spar for 30 seconds in orthodox. Your only goal is to switch to southpaw at least twice during those 30 seconds.
- The switch must happen in response to a moment - an incoming attack, a clinch break, a reset after a score attempt. Not on a predetermined count.
- When you switch, you must throw at least one technique before switching back or continuing from southpaw.
- Your partner’s job is to keep pressure on and not give you easy moments to switch.
What to feel for: You’re looking for the switch to stop feeling like a decision and start feeling like a reflex. Early on, you’ll think “now” and then switch. Later, you’ll notice you’ve switched without consciously deciding to. That’s the goal.
Common mistake: Students switch at the worst possible moments - when they’re off-balance, when they’re retreating, when their guard is compromised. I’ve noticed this happens because they’re focused on executing the drill rather than reading the fight. The correction: your partner should call out “bad switch” whenever you switch in a position you couldn’t attack from. If you can’t attack from the switch, you’ve given up position for nothing.
Connecting the Switch to Your Existing Game
Stance switching doesn’t work in isolation. It works best when it’s attached to things your opponent is already reacting to.
If you’ve been working feints effectively - and if you haven’t, this breakdown of how to make feints actually work is worth your time - then a switch can follow a feint as a second layer of disruption. Feint, watch them react, switch into the opening their reaction created.
It also works off combination attempts. When a combination fails - when your opponent covers your second or third technique - the natural reset takes you back to your starting position. Instead of resetting to orthodox, reset to southpaw. They’re expecting you to come back the same way. You don’t. For more on why combinations break down and how to fix them, this piece on making combination attacks land covers the mechanics in detail.
The other context where switching pays off is against opponents who keep scoring on the same side. If you’re getting caught on your right flank repeatedly, switching to southpaw changes what they’re looking at and forces them to find a new line. It’s a diagnostic as much as a tactic - if they adjust quickly, they’re adaptive fighters. If they keep looking for the same attack and can’t find it, you’ve taken away their best weapon. Diagnosing why you keep getting scored on from the same side is a related problem worth solving alongside this one.
Community Perspective
This is one of those topics where you’ll get genuinely different answers depending on which dojo you train in.
In some traditional Shotokan environments, stance switching is treated with suspicion - the view being that you should develop one stance to a high level rather than splitting your training across two. I understand that position, and I think it has merit for beginners. You can’t effectively switch to a stance you can barely fight from.
In sport kumite circles, particularly at higher competition levels, the conversation has shifted. Fighters who can credibly threaten from both sides are harder to scout and harder to pattern-read. The WKF competition environment, with its emphasis on clean single techniques and understanding what actually scores, rewards the kind of positional advantage that southpaw switching creates.
I think the honest answer is: it depends on your level and your goals. If you’re still building your fundamental fighting game, drilling southpaw extensively is probably not the best use of your training time. If you’re competing regularly and you’ve hit a ceiling with your orthodox game, this is one of the higher-leverage things you can add. I’d recommend waiting until you can fight cleanly from orthodox before committing serious time to this.
Key Takeaways
- The switch is only useful if you can attack from it. Drill the switch-and-attack as a single unit, not as two separate movements.
- Your guard has to flip with your feet. The most common failure point is the hands lagging behind the footwork - that lag is what opponents read.
- Southpaw gives you outside-line access and disrupts your opponent’s calibrated defence. Those are the two advantages. Know which one you’re exploiting in a given exchange.
- Reactive switching - in response to pressure or a failed technique - is more valuable than planned switching. The drills that build reactive quality are the ones worth prioritising.
- Don’t switch into a position you can’t attack from. A switch that gains no positional advantage just gives your opponent a moment to adjust.
- Controlling the centre matters even when you switch. A stance switch that surrenders the centre is usually a net loss - make sure the switch moves you into a stronger position, not just a different one.
The weekly digest
New karate articles, once a week
One email every week with everything new on Karate Lifestyle. No spam; unsubscribe in one click.
We'll email you to confirm. See our privacy policy.