Kihon Training Drills for Beginners
Most people approach kihon training like they’re checking boxes. Ten punches, ten blocks, ten kicks - done. What I’ve noticed over years of teaching is that the students who improve fastest aren’t the ones doing the most repetitions. They’re the ones who understand what they’re actually training for in each drill, and they feel the difference when they get it right.
If you want a breakdown of what kihon actually is and why it matters, What Is Kihon? A Practitioner’s Guide to Karate Basics covers that well. What I want to do here is get into the drills themselves - the ones I use, the mistakes I see constantly, and what to actually pay attention to when you’re training them.
The Drills That Actually Build Foundation
I’d split beginner kihon drills into two categories: the ones that are essential and the ones that are useful once the essential ones are solid. Zuki (punching) drills are essential. Uke (blocking) mechanics are essential. Basic kicks - mae geri in particular - are essential. Everything else builds on those three. I’ve seen students spend months drilling shuto uke before their basic punch had any real structure. That’s the wrong order.
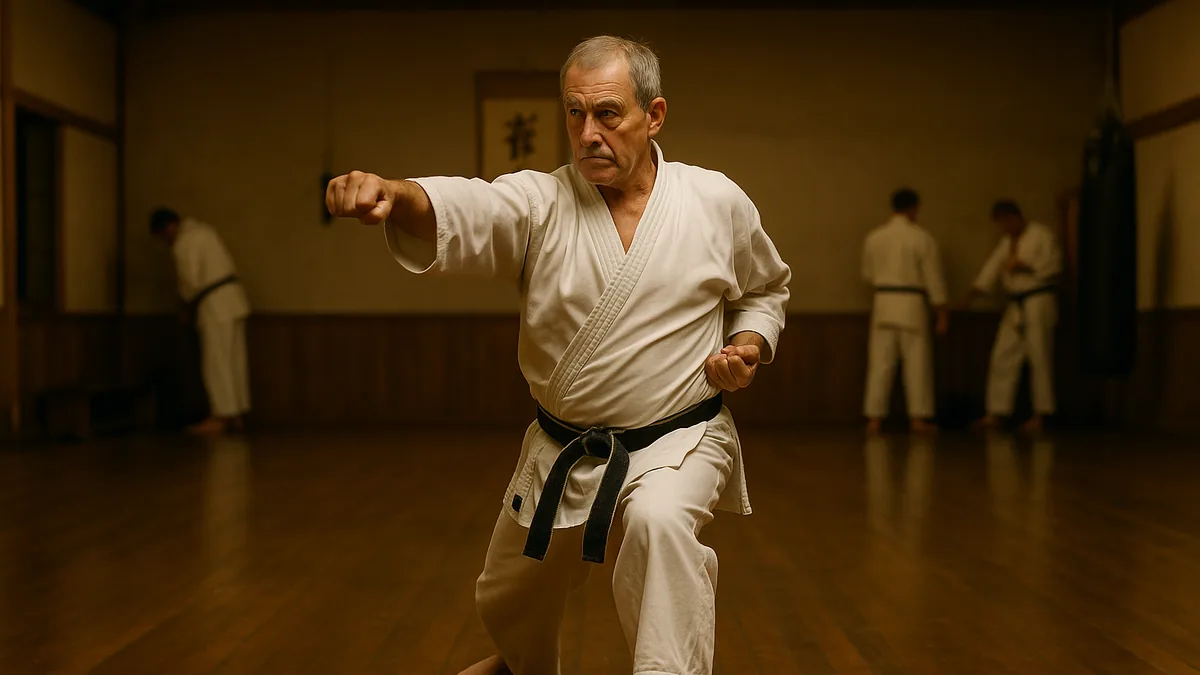
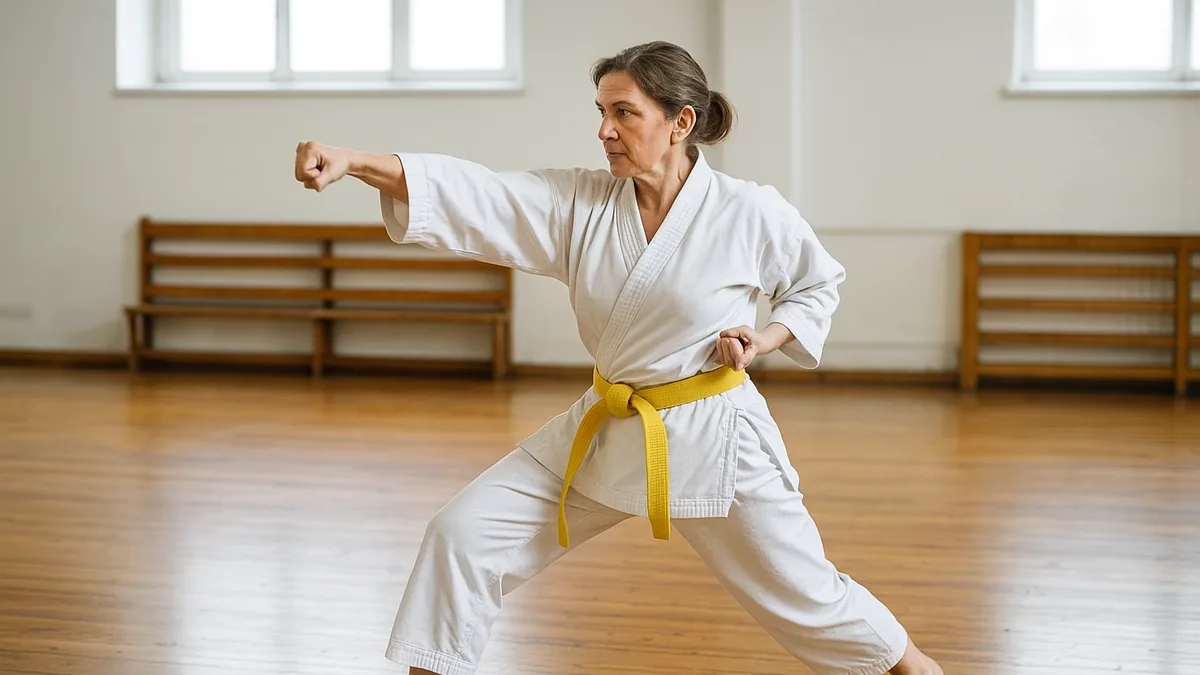
Stationary Oi-Zuki (Lunge Punch)
This is where everything starts, and it’s the drill I return to most often even now - not because I’m still learning the punch, but because it’s the clearest diagnostic for what’s working and what isn’t in my overall technique.
Why it matters: Oi-zuki teaches hip-to-fist connection. If you can’t feel that in a stationary position, you won’t find it moving.
Setup: Gedan-barai stance, left leg forward. Relaxed shoulders. Back straight but not stiff.
Execution:
- Drive from the back hip, not the shoulder. The rotation starts at the hip.
- As the hip turns, the punching arm extends. They should arrive together - hip locked, fist landed.
- The hikite (pulling hand) comes back hard and fast to the hip. Not a gentle retraction. A pull.
- Kime at the moment of impact - a brief, full-body contraction, then immediate release.
What to feel for: When the hip rotation is connecting properly, you’ll feel the impact through your whole body, not just your arm. The fist almost feels like it arrives on its own. When you’re doing it wrong - when you’re just throwing your arm - there’s a kind of emptiness to it. You feel the movement but not the weight behind it.
The mistake I see most often: Students punch with their shoulder. The shoulder comes forward, the hip stays behind, and the result looks like a punch but has no structural power. It happens because the shoulder is the obvious thing to move. I tell students to think of the hip as the engine and the arm as the exhaust - the arm is just what comes out the other end.
The correction that works: Put your hand on your own hip while you punch slowly. Feel whether the hip is driving the arm or following it. If you’re doing it right, the hip moves first.
Moving Oi-Zuki in Zenkutsu-Dachi
Once the stationary version has some structure, you add stepping. This is where most beginners fall apart.
Setup: Start in left gedan-barai. You’ll be stepping forward, right foot, into right zenkutsu-dachi with a right oi-zuki.
Execution:
- Step through - don’t stand up as you step. Stay low, keep the centre of gravity stable.
- The punch lands as the front foot lands. Not before, not after. Together.
- Drive the back knee forward as you step to get the hip through.
- Kiai on the final technique.
What to feel for: When the timing is right - foot and fist landing simultaneously - you feel the whole body weight arrive in the punch. It’s a satisfying, solid feeling. When the punch is early, it feels floaty. When it’s late, it feels disconnected.
Common mistake: Students punch early, then step. The punch arrives before the body, which means you’re throwing your arm without any mass behind it. This happens because the arm is faster than the body and the brain defaults to the arm. The fix is to consciously delay the punch until you feel the foot about to land.
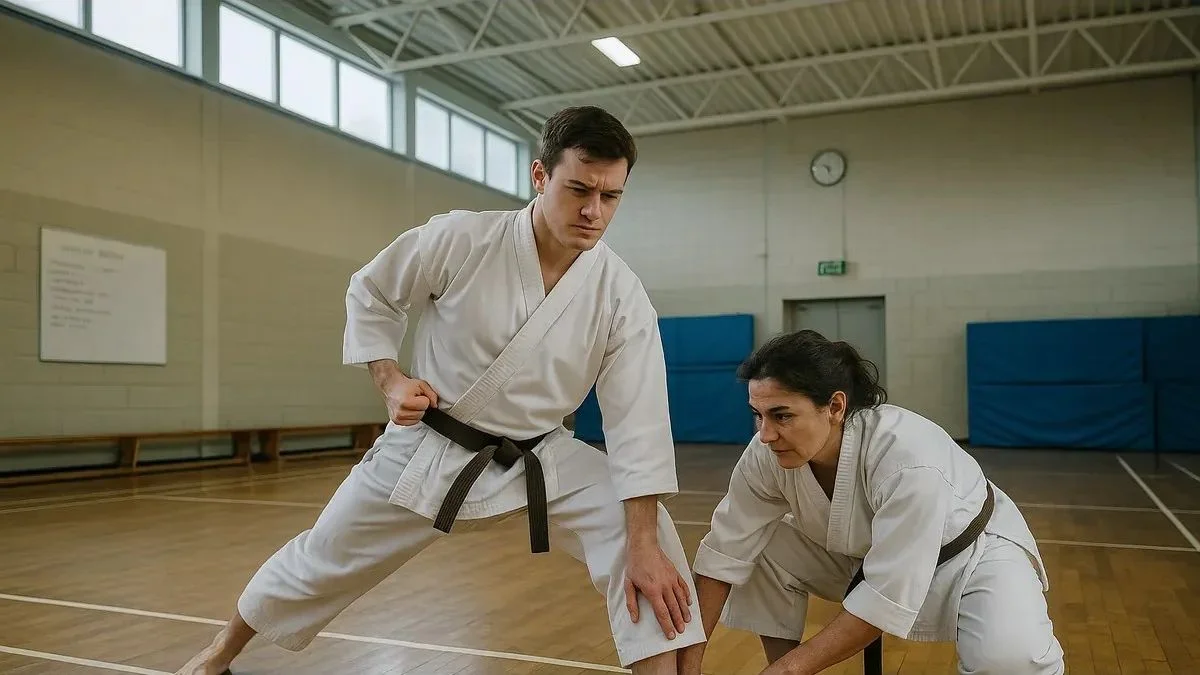
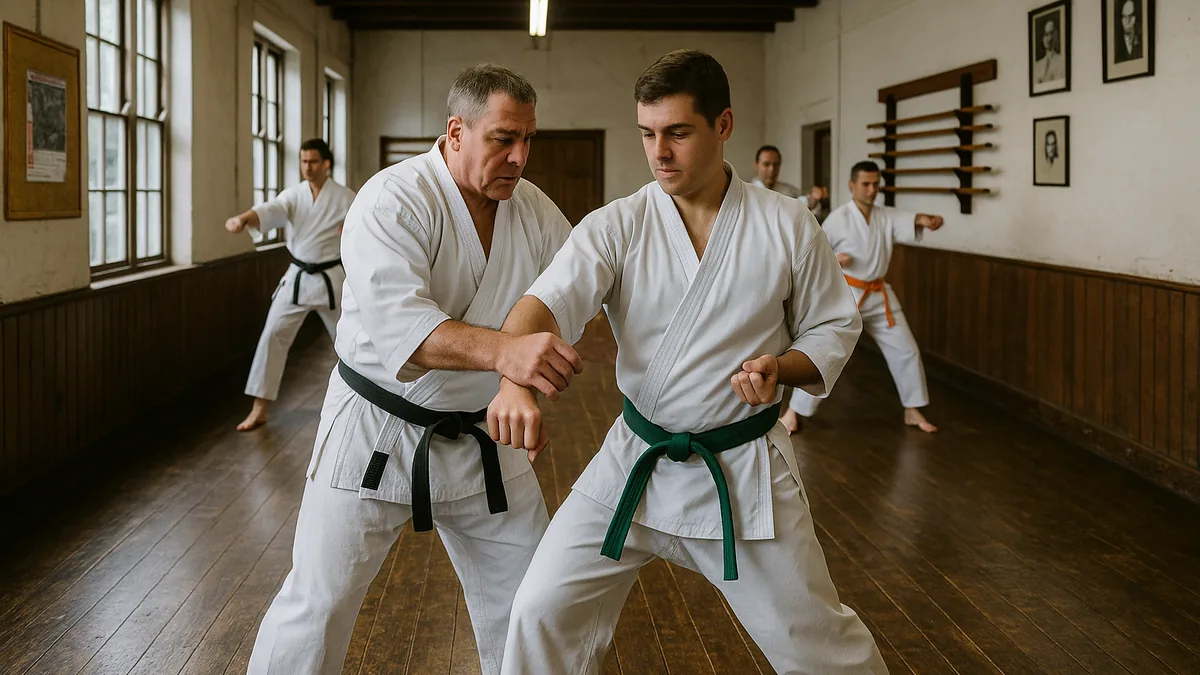
Age-Uke / Soto-Uke Combination Drill
I use this drill specifically to fix a problem that shows up constantly in beginners: passive blocking. Students treat blocks like shields - they hold them in the path of the attack and absorb. That’s not how they work.
Why it matters: A block should redirect or deflect, not absorb. This drill builds the right mechanical habit.
Setup: Stationary, natural stance or zenkutsu-dachi. Partner optional - you can drill this solo with a focus on mechanics.
Execution:
- Age-uke (rising block): Drive the blocking arm upward from the hip, rotating the forearm on the way up. The rotation is what deflects - without it, you’re just raising your arm.
- The block should finish with the forearm angled, not horizontal. You’re directing force away, not catching it.
- Soto-uke (outside block): The arm comes from outside to inside. The power comes from the elbow driving across, not the hand moving.
- Hikite pulls back simultaneously with every block. Every time. Without exception.
What to feel for: When age-uke is right, you feel the rotation in the forearm - almost like wringing a towel. That rotation is the deflection. When soto-uke connects properly, you feel the force coming from your core and lats, not your bicep.
I’ve written more about hikite mechanics separately - Why Most Karateka Never Fix Their Hikite goes deep on why that pulling hand matters more than most people realise.
Mae Geri (Front Kick) Drill
My instructor used to say that mae geri is the most honest kick - it shows you exactly how much control you have over your own body. I didn’t understand that until I watched a senior student kick a pad and felt the wind from it standing two metres away. There was no big wind-up, no dramatic movement. Just a snap that came from nowhere.
Setup: Natural stance or fighting stance. Start slow.
Execution:
- Chamber first - bring the knee up before the kick extends. The knee drives forward, not the foot.
- Extend from the knee, not from the hip. The hip supports; the knee extends.
- Snap back immediately. The foot returns along the same path it extended.
- Land in balance. If you’re stumbling forward after the kick, the weight transfer is wrong.
What to feel for: A good mae geri feels like a whip. The snap comes from the knee extending and then retracting. If it feels like you’re pushing with your leg, you’re not using the snap - you’re using muscle. The snap is faster and harder.
Common mistake: Students drop the knee before retracting - they let the leg fall rather than pulling it back. This kills the snap and leaves you off balance. I see this in almost every beginner, and the cause is usually that they’re focused on the extension and forget the retraction entirely. Drill the retraction separately if you need to.
Progression: How to Make These Harder
Once these drills have basic structure, here’s how I’d progress them:
- Add combinations. Oi-zuki into gyaku-zuki, then into a kick. The transitions reveal new problems.
- Add movement. Shuffle forward, shuffle back, then execute. Footwork changes everything.
- Add speed gradually. I’d rather see a student drill at 60% speed with correct mechanics than at full speed with bad habits. Speed comes last, not first.
- Add a partner. Even light partner work changes the psychology. Students tighten up, rush, and drop their hikite the moment someone is in front of them.
For drills that translate into live training, Solo Training Drills That Actually Transfer to Kumite covers the bridge between kihon repetition and actual application well.
Community Perspective
There’s a genuine split in how different dojos approach kihon volume. Some schools drill kihon for the first 30 minutes of every class, every session, for years. Others move students to kata and kumite faster and return to kihon as a corrective tool. I’ve trained in both environments.
My honest view: heavy kihon drilling builds structure that’s very hard to build any other way. But I’ve also seen students with technically polished kihon who can’t apply any of it under pressure. The drilling has to be purposeful, not mechanical. There’s a difference between doing a hundred punches and doing a hundred punches while thinking about hip connection.
The other debate worth acknowledging is how much kihon changes with age and physical condition. The mechanics are the same, but the approach has to adapt. Training Karate After 40 addresses this directly - the fundamentals don’t change, but how you train them does.
Key Takeaways
- The hip is the engine. Every punch, every block, every kick gets its power from hip rotation and body weight. If you’re using your arm, you’re leaving most of your power behind.
- Hikite is not optional. The pulling hand is half the technique. Drill it like it matters, because it does.
- Slow drilling with correct mechanics beats fast drilling with bad habits. Every time. Speed without structure just reinforces the wrong pattern faster.
- Feel the difference between right and close. Close looks okay from the outside. Right feels different - there’s a solidity and efficiency to it that you’ll recognise once you’ve experienced it.
- Blocks redirect; they don’t absorb. If your blocks feel like they’re stopping force, the mechanics are off. The rotation and angle are what make them work.
- Return to basics deliberately. Senior practitioners don’t drill kihon because they haven’t mastered it. They drill it because it keeps revealing new layers - and because it’s the clearest mirror for what’s working in everything else.