Ankle Sprains in Karate: How to Treat, Rehab, and Return to Training Without Rushing It
The ankle sprain is one of the most common injuries in karate, and one of the most mishandled. A rolled ankle in kumite, an awkward landing from a jump or a foot caught on the mat during a pivot can all do it. The usual mistake is coming back too early: once the ankle stops hurting, it feels fixed, but the ligament is still healing and the ankle’s balance reflexes have not recovered. This guide covers what current guidance says about treating a sprain, rehabilitating it and getting back on the mat without spraining it again.
What you are dealing with
Most ankle sprains happen when the foot rolls inwards (inversion). The ligament most often injured is the anterior talofibular ligament (ATFL) on the outside of the ankle.2 Sprains are usually graded by severity:2
- Grade 1: the ligament is stretched, with tiny tears.
- Grade 2: a partial tear, with more swelling and some instability.
- Grade 3: a complete rupture.
Ligaments heal slowly. Studies suggest they take at least six weeks to three months to heal, and some looseness can remain for up to a year.4 Up to four in ten people who sprain an ankle go on to have chronic ankle instability, with the ankle repeatedly giving way.5 That is why a full, gradual rehab matters, even when the pain has gone.
When to get it checked
Get medical advice if you cannot put any weight on the ankle or walk more than a few steps; the NHS advises calling 111. Go to A&E if you heard a crack, or the ankle has changed shape or is pointing at an odd angle.1 Clinicians use the Ottawa ankle rules, which look at bone tenderness and whether you can take four steps, to decide whether an X-ray is needed.3
The first few days
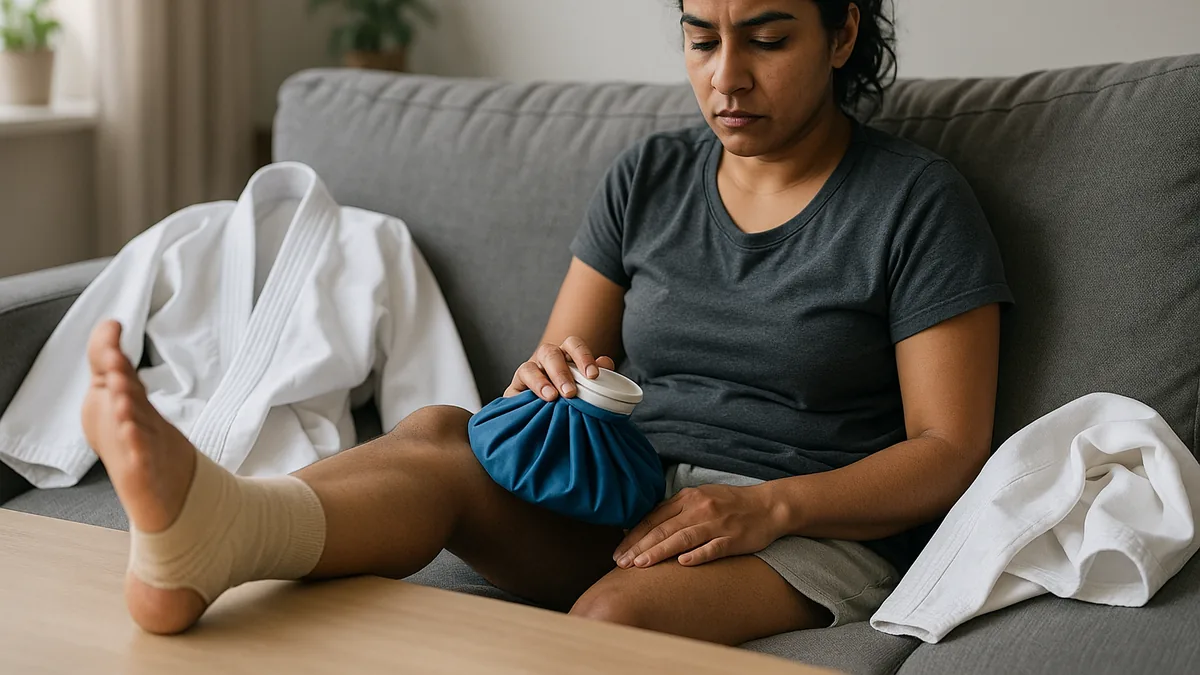
For the first two to three days, the NHS advises protecting the ankle, resting it, using ice, a supportive bandage and keeping it raised.1 Use an ice pack wrapped in a towel for up to 20 minutes every two to three hours.1 Ice mainly helps with pain; there is little evidence that it speeds healing.5, 6 Avoid heat, alcohol and massage for the first couple of days.1
Many sports-medicine clinicians now use the PEACE & LOVE framework alongside RICE-style advice: protect, elevate, avoid anti-inflammatories, compress and educate in the first days, then load, optimism, vascularisation (cardiovascular exercise) and exercise.6 It recommends restricting movement for only one to three days, then adding load as symptoms allow.6
The key point from current guidance is that early movement and exercise work better than immobilisation for most sprains. The 2018 clinical guideline in the British Journal of Sports Medicine prefers functional support and exercise therapy, and if a cast or boot is used at all, it recommends no more than ten days.5 A large review of reviews found strong evidence for early mobilisation.8
For which recovery tools are worth using, see Epsom salts, contrast showers and compression.
A rehab progression
The stages below follow the general pattern in NHS physiotherapy advice: movement first, then strength and balance, then sport-specific loading.7, 11 The timings are a rough guide. Progress by how the ankle feels and functions, not by the calendar, and see a physiotherapist if you are unsure or it is not improving.
Stage 1: range of movement (from the first few days)
NHS physiotherapy leaflets suggest starting gentle ankle movements within the first two to three days.7
Alphabet tracing:
- Sit with your leg supported and the ankle free to move.
- Trace the letters of the alphabet with your big toe, moving only at the ankle.
- Go slowly and keep the movements precise.
- Repeat a few times a day.
Stiffness and mild discomfort are expected; sharp pain means you have gone too far.
Stage 2: strength and balance (as walking becomes comfortable)
Calf raises:
- Stand holding a wall or chair.
- Rise slowly onto the balls of both feet, then lower slowly.
- When that is easy and pain-free, progress to one leg.
- Build up to around three sets of 15.
The slow lowering phase matters most: it rebuilds the control that protects the ankle when you land and change direction.
Single-leg balance:
- Stand on the injured leg without support.
- Hold for 30 seconds, building to 60.
- Progress by closing your eyes.
- Progress again by standing on a folded towel or balance cushion.
Balance training is the most important part of preventing another sprain. In a trial of athletes who had sprained an ankle, an eight-week home balance programme cut the rate of re-spraining from 33% to 22%, a reduction of about a third.9 A meta-analysis found a similar effect, especially in people with a previous sprain.10
Stage 3: dynamic loading (as confidence returns)
Line hops:
- Put a line of tape on the floor.
- Make small two-footed hops side to side over it.
- Progress to forwards and backwards, then to one leg.
Landings should feel soft and controlled. If you find yourself flinching or tensing on landing, stay at this stage longer.
Shuffles and changes of direction:
- Place two markers about three metres apart.
- Shuffle between them, touching each.
- Progress to 45-degree cuts, then 90-degree cuts.
- Add speed only when the movement feels fluid.
This stage matters for karate, where so much depends on pivoting, lateral movement and sudden changes of direction.
Getting back on the mat
As a rough guide, grade 1 sprains often allow a return to sport within one to two weeks and grade 2 within three to six weeks, although full healing takes longer.2, 11 A staged return is sensible:
- Week 1 back: kihon only; no pivots or jumps.
- Week 2: kata at reduced speed, taking care with turning movements such as those in Heian Shodan.
- Week 3: light partner work and pre-arranged drills; no full-speed kumite.
- Week 4: full training, with your partners aware you are coming back from injury.
Wearing an ankle brace or tape when you return clearly reduces the risk of spraining it again.5, 8 Bear in mind that karate is usually trained barefoot, so check what your club allows.
A previous sprain is one of the most commonly cited risk factors for another one,5 and a re-sprain during rehab sets recovery back. That is the strongest argument for finishing the balance work even when the ankle feels fine.
If you are managing a knee problem at the same time, see knee pain in karate. If you keep picking up injuries, overtraining in karate is worth a read.
Dojo culture
Traditional training culture often values training through pain, and there is something to that. But training on a healing ankle is how a two-week sprain becomes a recurring problem. Treat the rehab as part of training: the balance work you do at home is training the same reflexes your footwork depends on.
Key takeaways
- Most sprains are inversion injuries to the ligaments on the outside of the ankle. Ligaments take at least six weeks to three months to heal.
- Get it checked if you cannot bear weight, heard a crack or the ankle looks misshapen.
- For the first two to three days, protect, rest, ice (up to 20 minutes every two to three hours), support and raise it.
- Start gentle movement early; functional treatment and exercise beat immobilisation for most sprains.
- Balance training cuts the risk of re-spraining by about a third.
- Return in stages, and consider a brace or tape if your club allows it.
References
Checked by the KarateLifestyle editorial team against NHS guidance, clinical guidelines and sports-medicine research in September 2026. Exercise timings are a guide; progress by how the ankle feels and functions.
- Sprains and strains. NHS, page last reviewed 23 April 2024
- Acute ankle sprain. Bergman, Li and Shuman, StatPearls (NCBI Bookshelf), updated 2025
- Ottawa ankle rules. NSW Agency for Clinical Innovation, citing Stiell et al., JAMA 1994
- Ankle ligament healing after an acute ankle sprain: an evidence-based approach. T. J. Hubbard and C. A. Hicks-Little, Journal of Athletic Training, 2008;43(5):523–529
- Diagnosis, treatment and prevention of ankle sprains: update of an evidence-based clinical guideline. G. Vuurberg et al., British Journal of Sports Medicine, 2018;52:956
- Soft-tissue injuries simply need PEACE and LOVE. B. Dubois and J.-F. Esculier, British Journal of Sports Medicine, 2020;54:72–73 (published online 2019)
- Ankle injuries. North Bristol NHS Trust, patient information
- Treatment and prevention of acute and recurrent ankle sprain: an overview of systematic reviews with meta-analysis. C. Doherty et al., British Journal of Sports Medicine, 2017;51:113–125
- Effect of unsupervised home based proprioceptive training on recurrences of ankle sprain: randomised controlled trial. M. D. W. Hupperets, E. A. L. M. Verhagen and W. van Mechelen, BMJ, 2009
- The effectiveness of proprioceptive training in preventing ankle sprains in sporting populations: a systematic review and meta-analysis. G. S. Schiftan, L. A. Ross and A. J. Hahne, Journal of Science and Medicine in Sport, 2015
- Ankle sprain injuries. North Tees and Hartlepool NHS Foundation Trust, patient information
The weekly digest
New karate articles, once a week
One email every week with everything new on Karate Lifestyle. No spam; unsubscribe in one click.
We'll email you to confirm. See our privacy policy.