How to Train Mawashi-Geri So It's More Than a Wild Swing: Building a Roundhouse Kick That Actually Works in Kumite
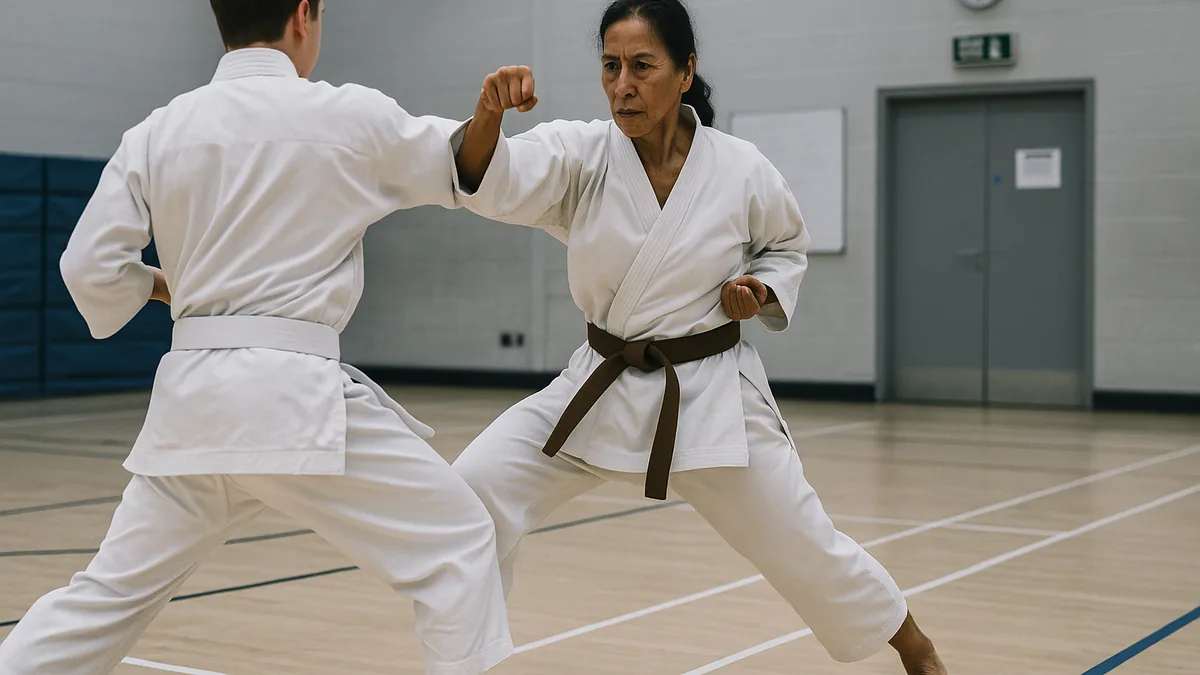
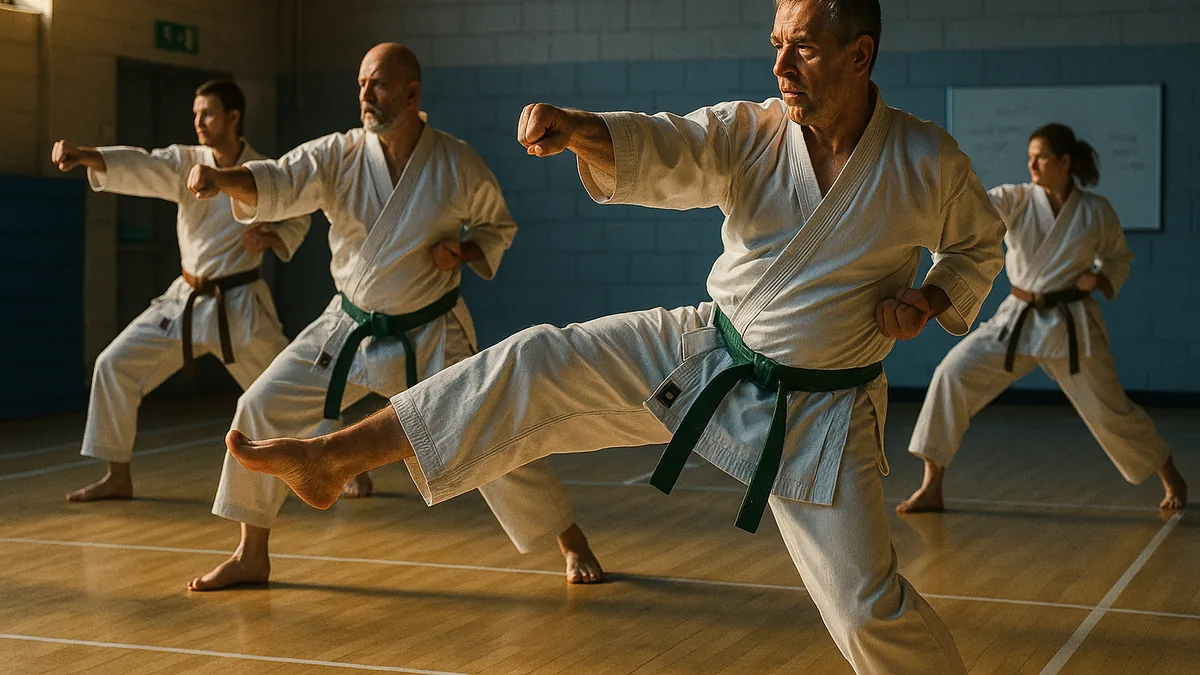
Most students throw mawashi-geri the same way they’d swing a baseball bat - they wind up, they commit, and they hope something lands. When it doesn’t work in kumite, they assume they need more power or more speed. They’re solving the wrong problem. The kick isn’t failing because it’s weak. It’s failing because it has no structure behind it, no hip connection, and no recovery path. It’s a swing, not a strike.
I’ve been teaching this kick for over a decade and the same errors show up every single time, regardless of the student’s grade. That tells me it’s not a talent problem. It’s a teaching problem. The way most people first learn mawashi-geri sets them up to develop exactly the habits they’ll spend years trying to undo.
This guide covers what I’ve found actually works - the drills, the corrections, and the physical sensations that tell you when you’re doing it right.
Why Most Mawashi-Geri Fails in Kumite
The roundhouse kick looks deceptively simple. Lift the knee, rotate the hip, extend to the target. Students watch it, think they understand it, and then throw something that looks vaguely similar but carries none of the mechanics.
The biggest difference between a working mawashi-geri and a wild swing is whether the hip is driving the kick or just going along for the ride. When the hip drives, you feel the impact travel back through your leg, through your hip, and settle into your base. When the hip is passive, the kick just… stops at the target. There’s no transfer. You’re basically slapping with your shin.
I used to think the snap at the end was what made the kick powerful. My instructor kept telling me to “use the hip” and I kept nodding and not really understanding it. It wasn’t until I started doing slow-motion partner work - where my partner held my leg at the point of contact and I had to push through using only rotation - that I felt what hip-driven actually meant. It’s not a metaphor. The hip physically rotates your whole leg through the target. The snap is a result of that rotation, not a separate action you add on top.
The Drills That Actually Build the Kick
I’ll rank these by importance because not all drills are equal. If you only have limited training time, the first two are non-negotiable. The rest are valuable but secondary.
Drill 1: Slow-Motion Chamber and Hold (Most Important)
This is the drill I return to with every student who has a broken mawashi-geri, regardless of grade. It’s unglamorous and it works.
Why it matters: Most wild swings happen because the knee chamber is either skipped or rushed. If your knee isn’t pointing at the target before the hip rotates, you’re not throwing a roundhouse kick - you’re throwing a side kick that got lost on the way.
Setup: Stand in fighting stance. No partner needed for the base version.
Execution:
- Lift your knee to chamber height - thigh parallel to the floor, knee pointing toward your target. Pause here for two full seconds.
- Rotate your supporting foot and hip simultaneously. Feel the hip opening. Your knee should track toward the target as the hip turns, not swing wide.
- Extend the kick slowly, making contact with the ball of the foot or the shin depending on your style. Hold the extended position for two seconds.
- Return the same way - retract the leg back through the chamber before putting the foot down.
What to feel for: At the extended position, your hip should feel fully rotated - your supporting hip and kicking hip almost level. If your hip feels like it stopped halfway, the kick stopped halfway. You’ll also notice that when you do this slowly and correctly, your balance is solid. When students rush this drill and lose balance, it’s almost always because the hip didn’t complete the rotation.
The mistake I see most often: Students drop the knee out to the side when they chamber, so the knee is pointing at the floor rather than the target. This is a habit that comes from trying to get height without hip flexibility. The correction that works best is having them chamber against a wall - stand side-on to a wall, lift the knee, and make the knee touch the wall. It forces the correct alignment immediately.
Drill 2: Hip Rotation Against a Pad
This is where the mechanics become real. You can’t fake hip connection when there’s resistance.
Why it matters: Slow-motion work builds the pattern. Pad work tests whether that pattern holds under load. If your hip drops out when you hit something, you don’t actually have the kick yet - you have a simulation of it.
Setup: Partner holds a Thai pad or kick shield at mid-body height. Check out how to use pad work to fix specific kumite problems for more on getting the most from pad sessions.
Execution:
- Start at a distance where you need to step to reach the pad - not right next to it.
- Step into range, chamber the knee, and drive the kick through the pad using hip rotation. Not a snap. A push-through.
- After impact, your hip should be fully rotated and your supporting foot should have pivoted so the heel is pointing roughly toward your target.
- Retract and return to stance.
What to feel for: When the hip is connecting properly, you’ll feel the impact through your whole standing leg, not just your kicking leg. The force travels through your body like a chain. When it’s not connecting, the kick feels like it stops at the pad. You absorb the rebound instead of transferring it.
The mistake I see most often: Students lean back to generate reach instead of rotating the hip forward. I see this constantly with students who have tight hips - they compensate by tilting the torso back, which disconnects the hip from the kick entirely. The correction is to deliberately keep the upper body upright and accept a shorter kick until the hip flexibility develops. A short kick with hip connection beats a long kick without it every time.
Drill 3: Combination Entry Drill
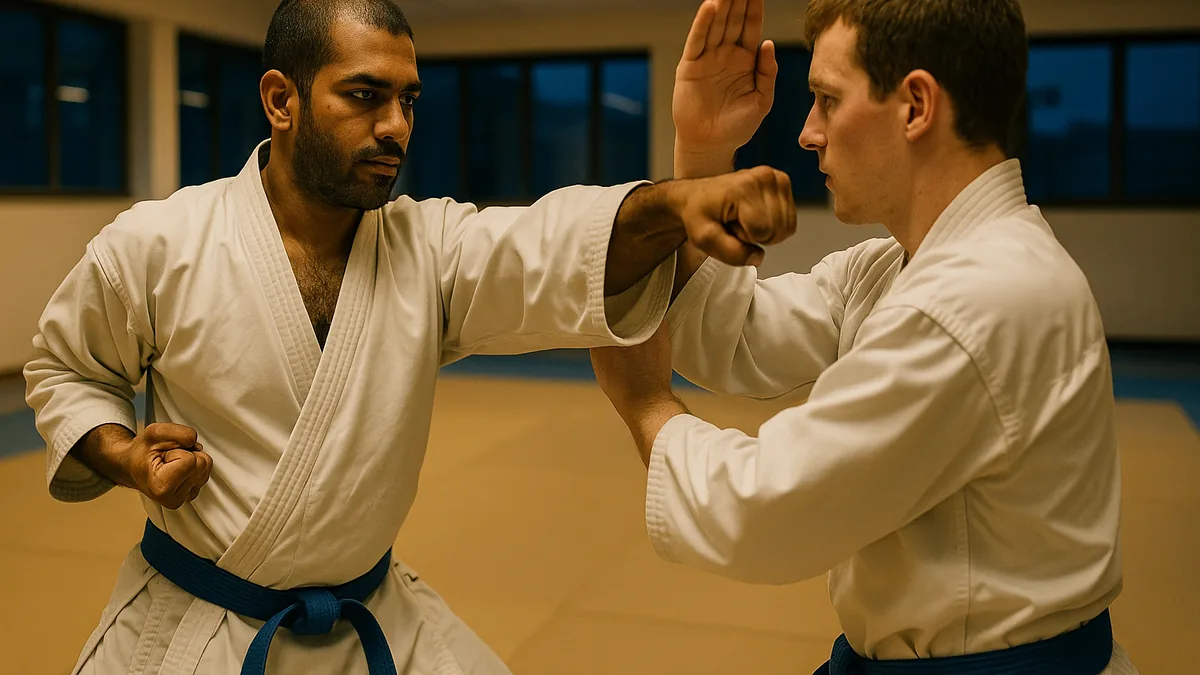
A mawashi-geri thrown from a standing start is easy to read. In jiyu-kumite, the kick that works is almost always preceded by hand techniques that create the opening. This drill builds that connection.
Why it matters: The kick needs to fit into a sequence, not arrive as a standalone announcement. If you’re setting up your mawashi-geri by telegraphing it from three metres away, your partner sees it before your hip even starts moving.
Setup: Partner in fighting stance. Light contact or controlled sparring setting.
Execution:
- Enter with kizami-zuki to the face - not committed, just enough to make your partner react. (If you want to work on that entry, this breakdown of kizami-zuki is worth reading.)
- As the partner responds to the jab - either blocking or moving back - immediately throw mawashi-geri to the body.
- The timing is the whole point. The kick should arrive while your partner is still processing the jab, not after they’ve reset.
- Alternate leads. Alternate targets. Keep your partner guessing.
What to feel for: When the timing is right, the kick feels almost easy - your partner is moving into it slightly, which adds to the impact without extra effort from you. When the timing is off, you’ll feel like you’re chasing them with the kick, which forces you to overcommit.
The mistake I see most often: Students throw the jab, pause, then kick. The pause kills everything. I tell students to think of the jab as a trigger, not a technique - you’re not trying to score with it, you’re using it to create the moment the kick needs.
Building Feedback Into Kumite Practice
Drilling in isolation will only take you so far. The kick has to work against a moving, reacting person. But most students just spar and hope the kick shows up. That’s not training - that’s testing.
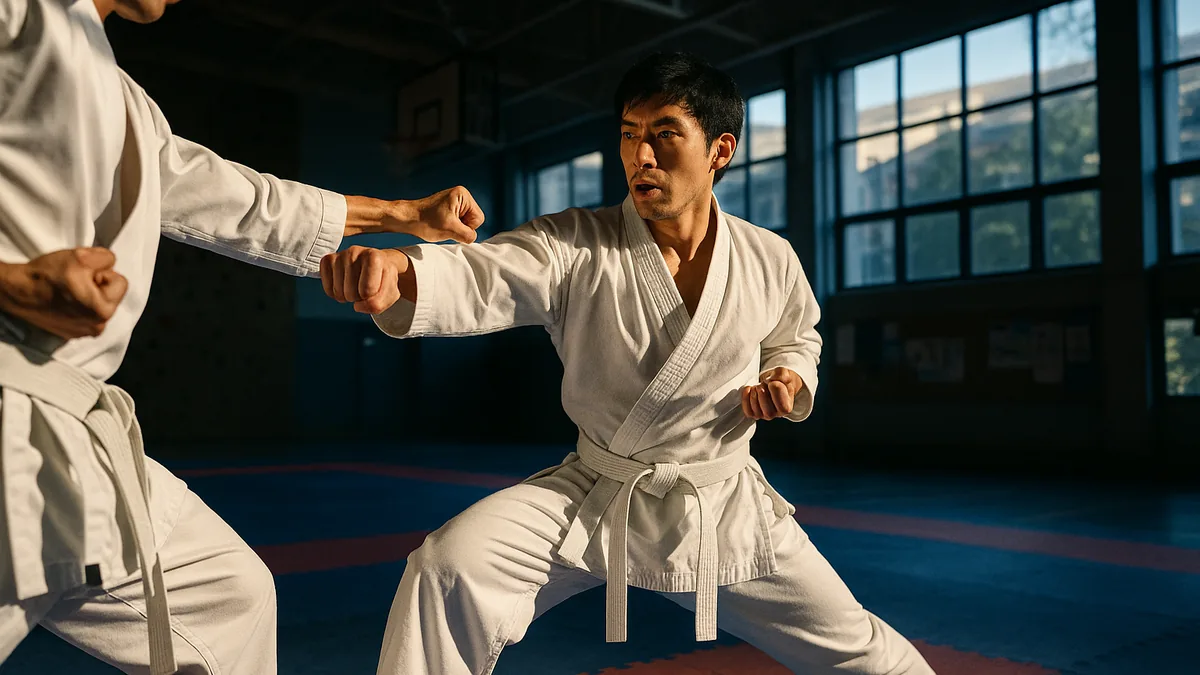
What I recommend is structured feedback rounds. You and your partner agree: for this three-minute round, you’re working mawashi-geri entries. After each exchange, your partner tells you one thing - did the kick arrive with warning, did it have power, did you recover cleanly. One thing only. Not a full debrief. Just one observation.
The reason this works is that your partner sees things you can’t feel yet. I’ve had students who were convinced their kick was fast only to find out they were lifting their shoulder as a tell every single time. They couldn’t feel it. Their partner could see it immediately.
This kind of partner feedback also changes how you spar. Instead of just trying to score, you’re gathering information. That shift in mindset - from competing to learning - is one of the bigger differences I’ve noticed between students who improve quickly and students who plateau. It connects directly to the broader work of training combinations in karate - the kick doesn’t exist in isolation, and neither does your development.
How the Kick Changes With Experience
At white and yellow belt, mawashi-geri is mostly about getting the shape right. Students are thinking about their knee, their hip, their foot position. It’s a checklist.
By brown belt, the checklist should be gone. The mechanics are in the body. What changes at that level is the reading - you’re no longer just throwing the kick, you’re choosing the moment. You see a gap open and the kick is already moving before you’ve consciously decided to throw it.
What I’ve noticed in senior practitioners is that the kick gets quieter. Less wind-up, less visible preparation, less commitment before the decision is made. A shodan’s mawashi-geri often looks smaller than a yellow belt’s - but it lands and the yellow belt’s doesn’t. The difference is timing and hip connection, not size or effort.
The other thing that changes is the relationship between the kick and the rest of your game. Early on, mawashi-geri is a separate weapon you pull out. Later, it’s integrated - it flows from your punches, it sets up your throws, it creates distance when you need it. If you’re working on that integration, training combinations properly is where that development happens.
Community Perspective
There’s genuine disagreement in the karate community about what mawashi-geri should look like - and a lot of it comes down to style and purpose.
Traditional Shotokan tends to favour a hip-driven kick with a snapping retraction, emphasising kime at the point of contact. Kyokushin practitioners typically use a heavier, push-through kick aimed at the body, with less emphasis on the snap. Sport karate under WKF rules has evolved toward a fast, light-contact version that prioritises speed and targeting over penetration. None of these is wrong - they’re optimised for different contexts.
Where it gets contentious is when practitioners from one background dismiss the others. I’ve seen Shotokan students argue that the Kyokushin kick is “sloppy” and Kyokushin practitioners argue that the Shotokan version has no real-world power. Both criticisms miss the point. The question is always: what are you training for?
My position is that the hip-driven mechanic is universal - it’s the foundation regardless of style. How you apply it, how much snap versus push-through, how high you kick - those are variables you adjust based on your context. Build the foundation first, then specialise.
There’s also ongoing debate about how much flexibility work is worth investing in for kicks above the waist. I’ve changed my view on this over the years. Early on I thought high kicks were a priority. Now I think a sharp, well-timed kick to the body is more useful in kumite than a high kick with compromised mechanics. Flexibility is worth developing, but not at the cost of structural integrity.
Key Takeaways
-
The hip rotation is the kick. If your hip isn’t completing the rotation, you’re throwing your leg at someone, not a roundhouse kick. Feel for the impact travelling back through your standing leg - that’s the sign the chain is connected.
-
Chamber first, always. A rushed or skipped chamber is the root cause of most wild swings. The slow-motion chamber and hold drill is the most important thing you can do if your kick is inconsistent.
-
Use your jab as a trigger. Mawashi-geri thrown from a standing start is a gift to your opponent. Enter with a hand technique first and throw the kick into the reaction.
-
Get partner feedback in sparring. You cannot feel your own tells. Your partner can see them. One observation per round, not a full debrief - keep it simple and keep training.
-
I prefer a shorter, hip-connected kick over a longer, reach-extended one every time. The temptation to lean back for more range is strong, especially against taller opponents. Resist it. The leaning back disconnects everything.
-
The goal is for the kick to stop being a decision and start being a response. That only happens through repetition with correct mechanics - not just repetition. Drilling a broken kick ten thousand times gives you a very reliable broken kick.
The weekly digest
New karate articles, once a week
One email every week with everything new on Karate Lifestyle. No spam; unsubscribe in one click.
We'll email you to confirm. See our privacy policy.