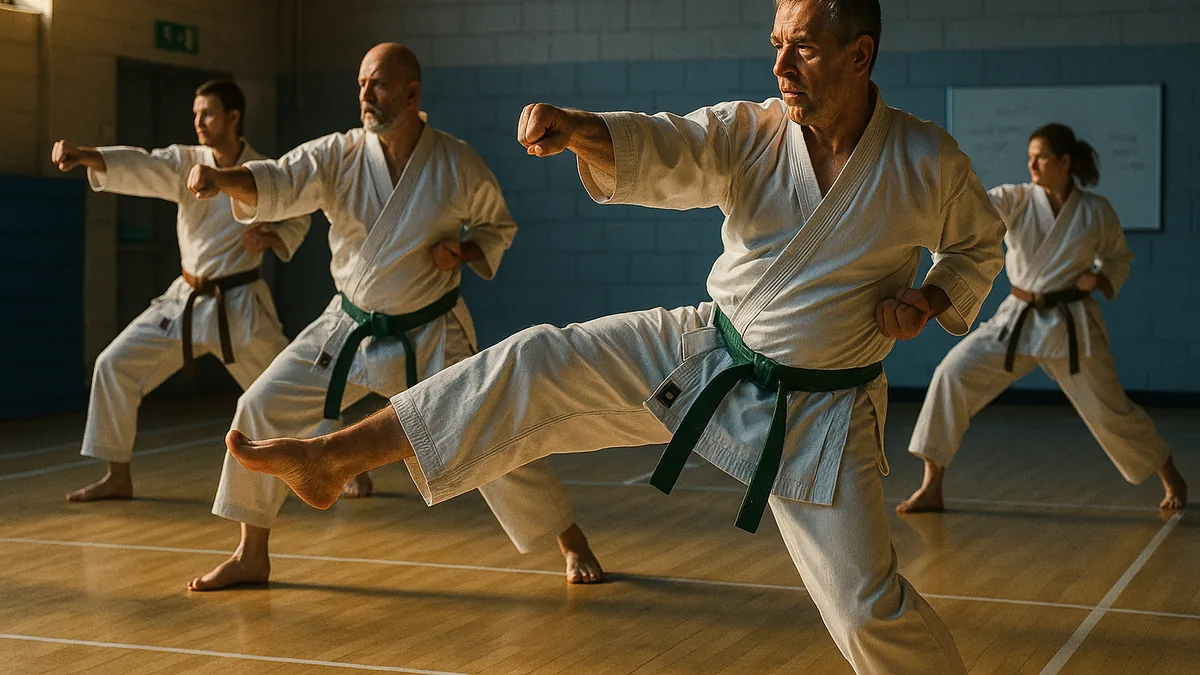
How to Train Mae-Geri So It Penetrates Instead of Just Touching: Building a Front Kick That Works in Kumite
Most students throw mae-geri like they’re trying to touch something. They extend the leg, make contact, and pull it back. Clean. Controlled. And almost completely useless in kumite.
I’ve watched this happen at every grade from white belt to brown belt, and the pattern is always the same. The kick looks fine. It has the right shape. But when it lands on a pad - or on an opponent - there’s no weight behind it. It taps. It doesn’t drive.
The difference between a front kick that scores and one that gets ignored comes down to three things: hip commitment, follow-through, and the willingness to actually deliver the kick rather than just perform it. This guide is about building all three.
Why Mae-Geri Fails in Kumite
The kick most people practice in kihon is a controlled, retracted technique. That’s fine for learning the shape. But somewhere between the dojo line and an actual opponent, students stop committing to it. They start placing the kick rather than throwing it.
I used to think mae-geri was a speed kick - get it in fast, get it back, score on reaction time. My instructor kept telling me to “push through,” and I kept nodding without really understanding what he meant. Then during jiyu-kumite one evening, a senior student let my kick land and just… stood there. He hadn’t even blocked it. It had landed flush and done nothing. That was the moment I understood. I wasn’t kicking him. I was touching him with my foot at speed.
The real issue is almost always the hip. Not the chamber, not the snap, not the foot position - the hip. When the hip doesn’t drive forward through the target, the kick has no mass behind it. You’re using leg speed alone, and leg speed without hip weight is just a tap.
The Drills That Actually Build Penetrating Power
I rank these in order of importance. If you only have time for two, do the wall drill and the pad work with follow-through. Those two will change your kick faster than anything else.
Wall Hip Drive Drill
This is the one I come back to more than any other, and it’s the one most people skip because it feels too simple.
Why it matters: It isolates the hip drive completely. No chamber, no snap, just the hip movement that powers the kick.
Setup: Stand facing a wall, about one arm’s length away. You’re not kicking the wall. You’re using it as a reference point.
Execution:
- Stand in a natural stance, feet shoulder-width apart.
- Shift your weight onto your rear foot slightly.
- Drive your front hip forward - not upward, forward - toward the wall.
- Let the movement come from the hip, not the knee or the foot.
- Hold the extended hip position for two seconds. Feel where your weight is.
- Return and repeat on both sides. Twenty reps each side.
What to feel for: When you get this right, you’ll feel a stretch through the hip flexor of the driving leg and a sense of your whole lower body rotating forward as a unit. It shouldn’t feel like a leg movement. It should feel like your pelvis is leading and your leg is following.
What most people get wrong: They tilt forward from the waist instead of driving the hip forward. The upper body leans in and the hip stays back. The correction that works is to keep your shoulders level and imagine your hip bone is a headlight you’re pointing at the wall.
Slow-Motion Chamber and Drive
I prefer this drill over high-repetition fast kicks for building structural understanding. Speed hides everything. Slow motion shows you exactly where the technique breaks down.
Why it matters: Most students lose the hip drive during the transition from chamber to extension. This drill forces you to feel each phase separately.
Setup: Partner or mirror. No pads yet.
Execution:
- From fighting stance, chamber the knee to hip height - slow, deliberate.
- Pause at full chamber for one second.
- Begin the extension, but at the same time consciously push the hip forward. Not after the extension starts - with it.
- Extend to full reach. Pause again.
- Retract the same way - slow, controlled.
- Ten reps each leg. No rushing.
What to feel for: The hip push and the leg extension should feel like they’re happening together, not sequentially. When the timing is right, you’ll feel the kick extend from your core outward rather than from your knee down. It feels like the whole front of your body is involved.
What most people get wrong: They chamber first, then push the hip, then extend. Three separate movements instead of one connected one. I see students do this because they’re thinking about each part individually. The correction is to focus only on the hip and let the leg follow it. Stop thinking about the foot.
Pad Work with the “Don’t Let Me Stop It” Cue
This is where the technique becomes a kick. Everything before this is preparation.
Why it matters: You can have perfect mechanics in the air and still pull the kick at contact. Pad work with a specific intention trains you to commit through impact.
Setup: Partner holds a hand pad at stomach height. Not a kick shield - a hand pad. The smaller target forces accuracy.
Execution:
- Start from fighting stance, about one and a half leg-lengths from the pad.
- Your partner’s instruction to you is: “I’m going to try to hold this pad steady. Don’t let me.”
- Chamber and drive the kick with the intention of moving the pad holder backward - not just hitting the pad.
- Follow through at least ten centimetres past the initial contact point.
- Retract cleanly after the follow-through.
- Ten kicks each leg, with your partner giving honest feedback on whether they felt backward pressure.
What to feel for: A kick that penetrates feels different from a kick that taps. When you get it right, you’ll feel the impact travel up through your supporting leg and into your core. It’s not just your kicking leg that registers the contact - your whole body does. That’s how you know the hip is connected.
What most people get wrong: They aim for the surface of the pad. The correction I give every time is: “Kick through the pad. Your target is the wall behind your partner.” This feels wrong at first because it seems like you’ll overshoot, but the mechanics of a kick mean that aiming past the target is what produces force at the target.
Resistance Band Hip Drive
This is a supplementary drill, not an essential one. But if you’re training alone and want to reinforce the hip mechanics, it’s worth including.
Why it matters: The band creates resistance specifically against the hip drive, which makes you aware of the movement in a way that shadow work doesn’t.
Setup: Loop a resistance band around your hips. Anchor it behind you at hip height. Stand facing away from the anchor point.
Execution:
- From fighting stance, perform mae-geri against the band resistance.
- Focus on driving the hip forward against the pull.
- The band will try to pull your hip back - resist it and drive through.
- Fifteen reps each leg.
What to feel for: The resistance makes the hip drive effort conscious. You’ll feel exactly which muscles are responsible for pushing the hip forward, which is useful when you go back to unresisted kicks.
If you’re training solo regularly, training alone when you have no club access covers how to structure this kind of work without a partner.
The Mistakes I Correct Most Often
Kicking with a bent supporting leg. The supporting leg collapses slightly at contact, which kills the transfer of force. The kick lands but the structure behind it has already given way. I tell students to think of the supporting leg as a post you’re pushing off, not a hinge you’re folding over.
Pulling the kick before it fully extends. This is the “touching” problem. The student makes contact and immediately starts retracting. The kick never reaches its full extension because the brain has already decided the job is done. The correction: finish the kick before you think about retracting. The retraction will happen fast enough. Trust it.
Chambering too high. I’ve seen students chamber the knee to chest height because it feels powerful. It isn’t. It slows the extension, telegraphs the kick, and takes the hip out of alignment. Chamber to hip height. That’s where the drive is most efficient.
Leaning back to create distance. When students feel like they’re too close, they lean back instead of adjusting their feet. This puts the upper body behind the kick and disconnects the hip. If you’re too close, step back. Don’t compensate with your spine.
How This Changes With Experience
As a white belt, I thought mae-geri was about speed. Get it in fast, get it back, don’t get countered. By brown belt, I’d realised it’s about timing and commitment. The kick doesn’t need to be the fastest thing you throw - it needs to land when the opponent’s weight is wrong, and it needs to land with enough presence that they can’t ignore it.
Senior practitioners don’t kick harder. They kick with more weight. The hip is fully behind the technique, the supporting leg is solid, and the follow-through is real rather than performed. When you watch someone who’s been training for fifteen years throw a mae-geri, it looks almost casual. But if you’re on the receiving end of the pad, you feel it in your whole body.
The other thing that changes is how you use it in kumite. Mae-geri in jiyu-kumite isn’t usually a primary scoring technique - it’s a measure, a disruption, or a setup. When an opponent commits to a combination and their weight shifts forward, a well-timed mae-geri to the midsection stops them completely. That’s where this kick earns its place. It pairs naturally with the kind of combination work covered in how to train oi-zuki so it’s more than just a lunge punch - the front kick creates the space, the punch closes it.
Community Perspective
There’s genuine disagreement about whether mae-geri should be trained primarily as a snap kick or a thrust kick in sport karate. Some instructors - particularly in WKF-aligned dojos - teach a sharp snap with immediate retraction, prioritising speed and point-scoring. Others, especially those with a stronger kihon or Kyokushin background, emphasise the driving, penetrating version.
I think the honest answer is that both have their place, but most students default to the snap because it feels safer and cleaner. The thrust requires commitment, and commitment feels risky when you’re thinking about being countered. What I’ve noticed is that students who only train the snap version struggle to generate real force when they need it. The snap is a tool for scoring in controlled conditions. The thrust is what works when the situation is less predictable.
The drills above are weighted toward the thrust mechanics, because that’s where most students are underdeveloped. Once the drive is built in, the snap version takes care of itself.
Key Takeaways
- The hip drives the kick. If the hip isn’t moving forward through the target, you’re using arm speed with your leg - it touches but doesn’t penetrate.
- Aim past the target. Kicking through the pad rather than at it is the single correction that makes the biggest difference in pad work.
- Slow-motion drilling exposes where the technique breaks down. Speed hides the disconnection between hip and extension. Slow it down until you can feel each phase connecting.
- The supporting leg is not passive. A collapsing base kills the force transfer. Treat it as the platform the kick pushes off.
- In kumite, mae-geri is most effective as a disruption or counter - not a primary scoring technique. Train it to be functional, not just fast.
- Build the hip drive before worrying about speed. Speed without structure is what produces the kick that touches instead of the kick that works.
If you’re building out your kumite toolkit alongside this, the approach to mawashi-geri follows similar principles around hip commitment - and kizami-zuki pairs well with mae-geri as a combination entry.
The weekly digest
New karate articles, once a week
One email every week with everything new on Karate Lifestyle. No spam; unsubscribe in one click.
We'll email you to confirm. See our privacy policy.